
When first viewing Mountain Lion (MT Lion) Server, you can understand that Apple had a long-term goal of making the most common things VERY easy and simple to administer. Consolidating service functions started with Lion’s introduction of Server.app; which migrated some of the more common collaboration services. This allowed Mac Administrators to adapt to a new working environment for what Apple has envisioned for OS X Server’s future. This series will provide highlights of what is different between administrating Lion and MT Lion, specifically via the GUI vs. what must be done with Terminal commands.
Baseline
Before we get started, there are a couple of assumptions to make these examples relevant prior to any configuration:
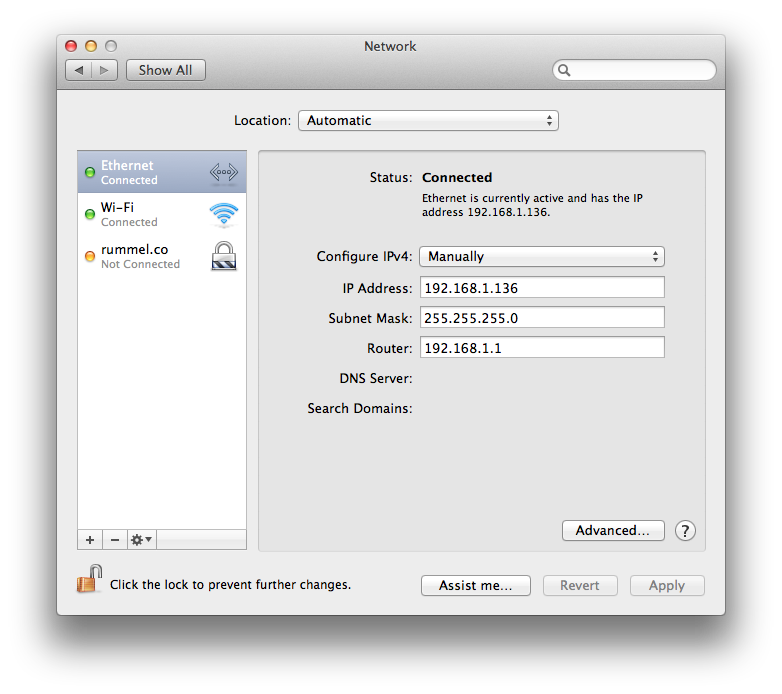
- If you are planning to run server, you must use a static IP address by going to System Preferences => Network => Ethernet => Configure IPv4 drop-down option as “Manually”.
- Don’t forget your Subnet Mask, Router info
- Since I am using this as a DNS server, I’m not going to populate the DNS entries in the “Advanced…” button (if you have a good working DNS server, it’s OK to enter those IP values).
- Lastly, the targeted hostname is correct in the System Preferences => Sharing => Computer Name field
Mt Lion Server Assistant
I’ll assume that you are either a) running on a “Server Hardware” (e.g. MacMini Server or MacPro Server), or you have just purchased Mt Lion OS X Server from the Mac App Store (MAS) thus we are launching Server.app for the first time.

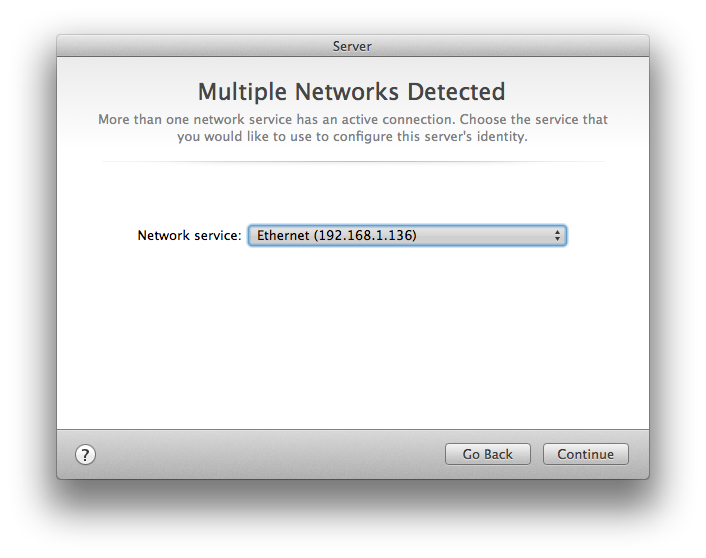
On the Server.app welcome screen, click “Continue” and agree to Apples EULA. If you have multiple network interfaces detected (such as two Ethernet ports are plugged in), you’ll need to choose the primary interface where services will “listen” for network traffic. This should always be an Ethernet Address.
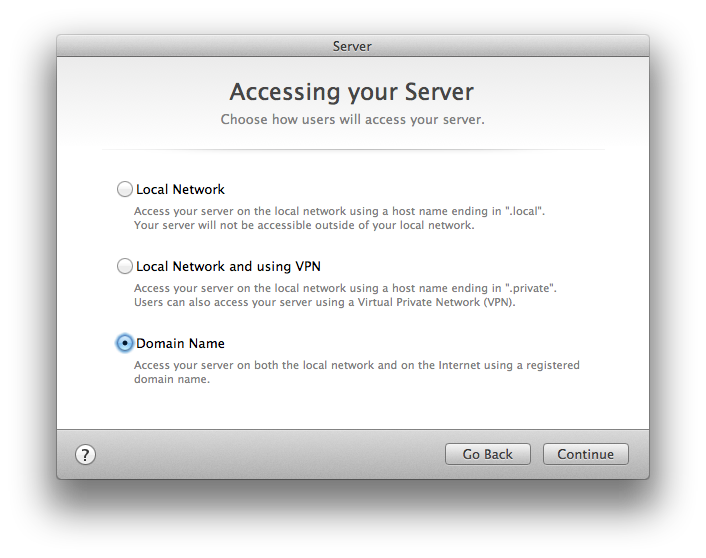
The next screen is the “Accessing your Server” window. I always choose Domain Name, as my experiences has been installing OS X Server in Education, Business, and Government… never a personal home server. With that said, if I were installing this in my house I would still chose “Domain Name” option.
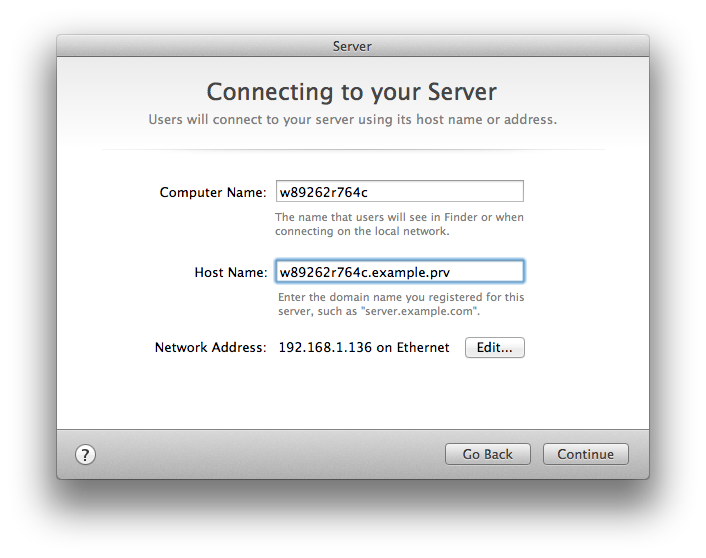
Next we will choose the fully qualified domain name (FQDN). I’m using the Serial Number of the machine plus “example.prv” as my domain.
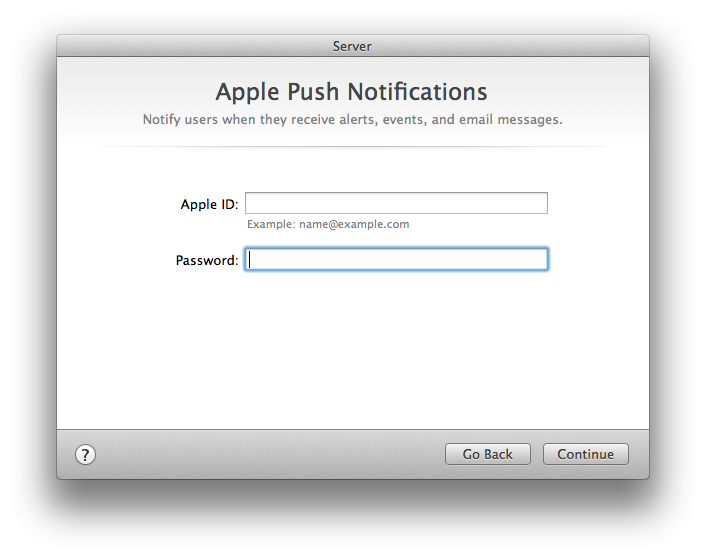
New with Mt Lion Server is the ability to receive notifications via Apple’s Push services. You can enter any Apple ID to receive these notifications via Messages application running on Mt Lion or on your iOS device. You do not need to enter an ID if you don’t have one at installation. This can always be configured later via the Server.app Hardware preference section.
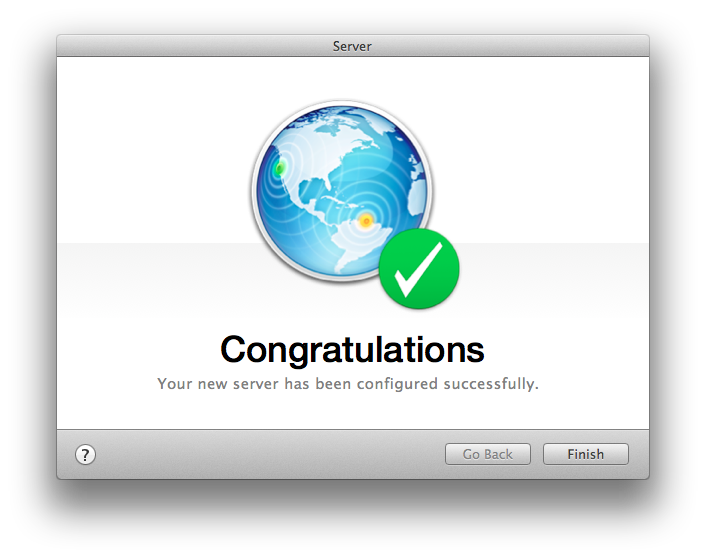
At the end, a basic set of services will finally be configured based on our answers through the Server Setup Assistant. Since our installation did not specify any DNS values the DNS Service was automatically configured. However, it is in an unusable state as it may or may not have discovered any forwarding IP addresses, PLUS all of your clients are not (yet) using this new DNS server to resolve DNS names. More on that in the next article.
Footnotes
- In my opinion “bonding” ports provides little benefit so if you have two ports available, you may want to disconnect one and click Continue.


Comments are closed. If you have a question concerning the content of this page, please feel free to contact me.